
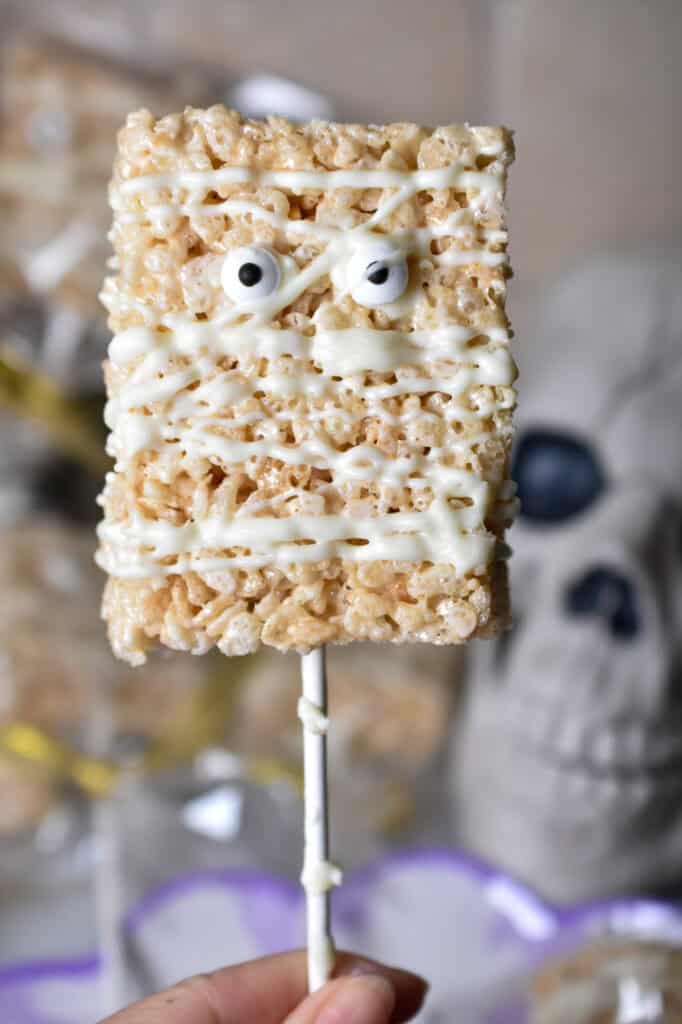
Want to make something cute for Halloween without spending your entire afternoon crafting tiny edible masterpieces? These Mummy Rice Krispie Treats are for you.
They’re ridiculously easy, require just a handful of ingredients, and look adorable even if your decorating skills are questionable.
We’re talking classic gooey Rice Krispie treats, a couple of candy eyes, and a messy drizzle of melted white chocolate. That’s it!
And honestly, the messier the drizzle, the better the mummy.
These are perfect for Halloween parties, school bake sales, or a fun afternoon activity with the kids. You can even use store-bought Rice Krispie treats if you want to skip straight to decorating. No judgment here!
Why You’ll Love These Mummy Rice Krispie Treats
- Easy to make: No baking required, and decorating takes just minutes.
- Kid-friendly: Little hands can help add the candy eyes and chocolate drizzle.
- Minimal ingredients: Just a few pantry staples and some Halloween decorations.
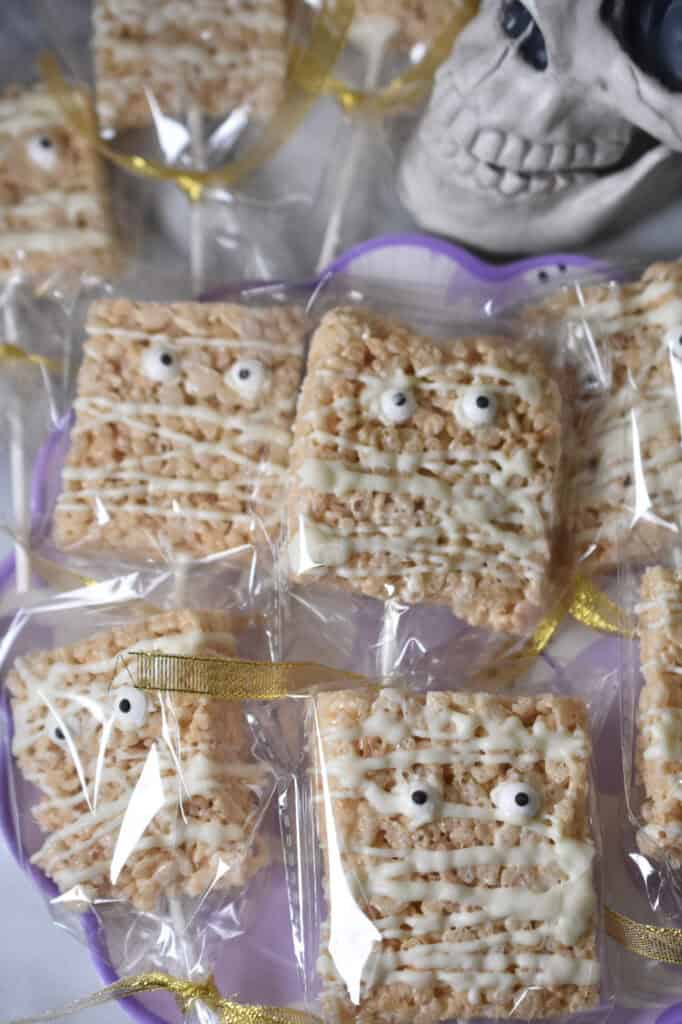
- Perfect for parties: Add popsicle sticks for an easy-to-hold Halloween treat.
- No decorating skills necessary: Messy chocolate drizzles actually make these look better!
How to Make Mummy Rice Krispie Treats
Step 1: Make the Rice Krispie Treats
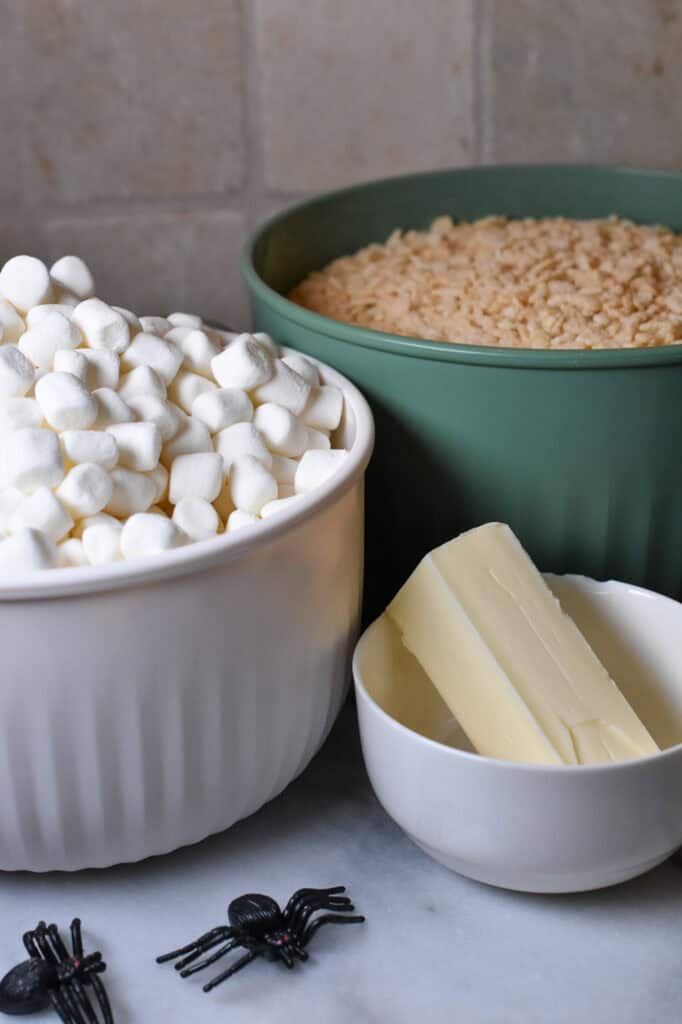
In a large saucepan, melt the butter over low heat.
Add the marshmallows and stir until completely melted and smooth.
Remove from the heat and gently fold in the Rice Krispies cereal until everything is evenly coated.
Step 2: Press and Cut
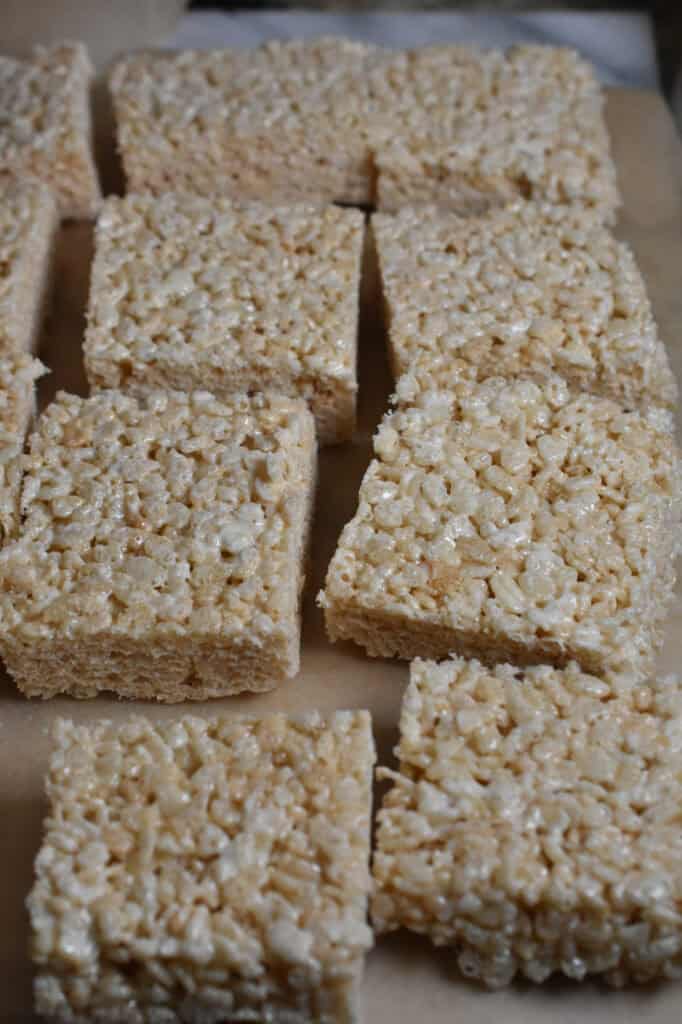
Transfer the mixture to a lightly greased 9-by-13-inch baking dish.
Using a greased spatula or a piece of parchment paper, gently press the mixture into an even layer. Don’t pack it down too tightly, or your treats will be hard.
Allow to cool and set for approximately 30 minutes.
Cut into 12 rectangular treats.
Step 3: Add Popsicle Sticks (Optional)
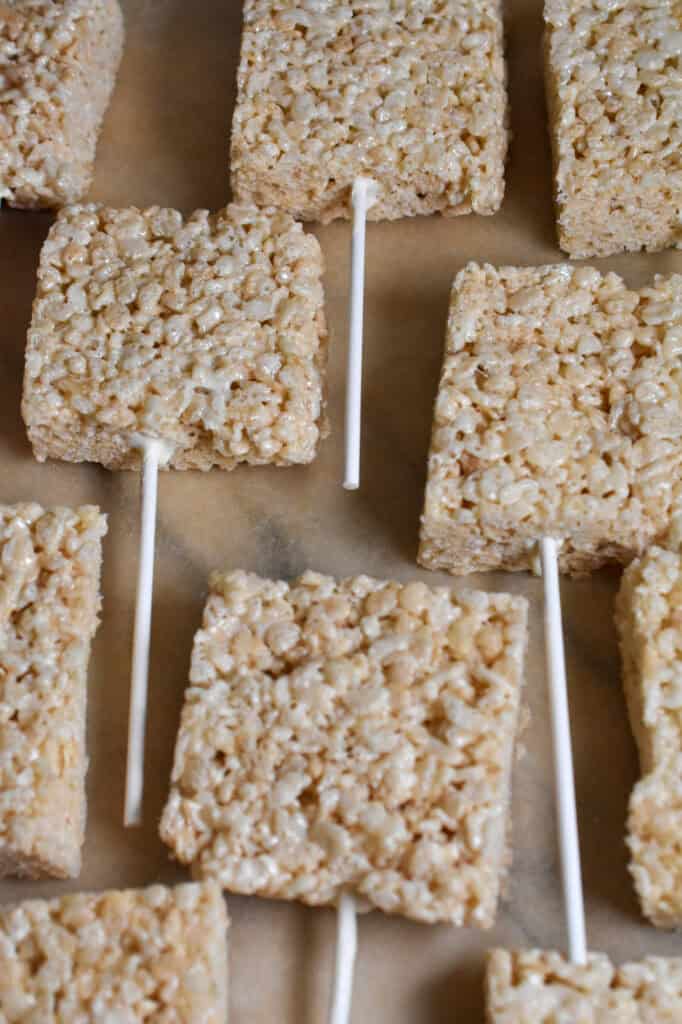
If you’re making mummy pops, gently insert a popsicle stick into the bottom of each rectangle.
If the treats feel too soft, allow them to firm up a little longer before adding the sticks.
You can also skip the sticks entirely!
Step 4: Add the Candy Eyes
Melt the white chocolate or candy melts according to the package instructions.
Use a small dab of melted chocolate to attach two candy eyes near the top of each Rice Krispie treat.
Allow the chocolate to set slightly so the eyes stay in place.
Step 5: Make Your Mummies!
Transfer the remaining melted white chocolate to a piping bag or zip-top bag and snip a tiny corner.
Drizzle the chocolate back and forth across each treat to create mummy bandages, leaving the eyes visible.
Don’t worry about making the lines perfect. Uneven drizzles make them look even more like little mummies!
Allow the chocolate to set completely before serving or packaging.
Tips for the Best Mummy Rice Krispie Treats
Keep the heat low. Melting marshmallows over low heat helps keep the treats soft and chewy.
Don’t press too firmly. Compacting the cereal mixture can make the finished treats dense and hard.
Use melting chocolate. White candy melts or melting wafers are easier to drizzle and generally set more reliably than regular white chocolate chips.
Attach the eyes first. This makes it easier to drizzle around them without covering their little faces.
Make them ahead. These treats can be prepared a day or two before your Halloween celebration.
The Ultimate Halloween Shortcut
Want to make these even easier?
Buy individually wrapped Rice Krispie treats, unwrap them, and go straight to decorating.
You’ll have adorable little Halloween mummies in about 15 minutes, with practically no cleanup.
Sometimes that’s exactly the kind of Halloween project we need.
How to Store Mummy Rice Krispie Treats
Store your finished mummies in an airtight container at room temperature for up to 2–3 days for the best texture.
If stacking, place parchment paper between layers to protect the chocolate decorations.
Avoid refrigerating them unless necessary, since refrigeration can make the treats firmer.
Perfect for Halloween Parties and Bake Sales
These little mummies are especially fun for school Halloween parties, bake sales, and neighborhood gatherings.
Add popsicle sticks and wrap each one individually in a clear treat bag for easy serving.
If you’re making them for school, always check classroom allergy requirements and ingredient labels first. Rice Krispies, marshmallows, candy eyes, and melting chocolate can vary by brand.
If you like these, try other fall favorites
Frozen Peanut Butter Banana Bites
Print
Easy Mummy Rice Krispie Treats | No-Bake Halloween Snack
- Total Time: 30
- Yield: 12 1x
Description
Make these easy Mummy Rice Krispie Treats with marshmallows, candy eyes, and white chocolate. A fun, no-bake Halloween treat for kids and parties!
Ingredients
- 3 tablespoons unsalted butter
- 1 package (10 oz) mini marshmallows
- 6 cups Rice Krispies cereal
- 8 oz white melting chocolate or white candy melts
- 24 candy eyes
- 12 cake pop sticks (optional)
Instructions
- Melt butter in a large saucepan over low heat.
- Add marshmallows and stir until melted and smooth.
- Remove from heat and fold in Rice Krispies cereal.
- Press gently into a greased 9-by-13-inch pan.
- Cool for approximately 30 minutes, then cut into 12 rectangles.
- Insert popsicle sticks if using.
- Melt white chocolate according to package directions.
- Attach two candy eyes to each treat using a dab of melted chocolate.
- Drizzle remaining chocolate across the treats to create mummy bandages.
- Let the chocolate set completely before serving.
Notes
-
-
Substitute store-bought Rice Krispie treats for an even faster version.
-
Use a zip-top bag with a tiny corner snipped off for easy drizzling.
Store in an airtight container at room temperature for 2–3 days.
Check all ingredient labels if preparing these for a school or allergy-sensitive event.
-
- Prep Time: 30